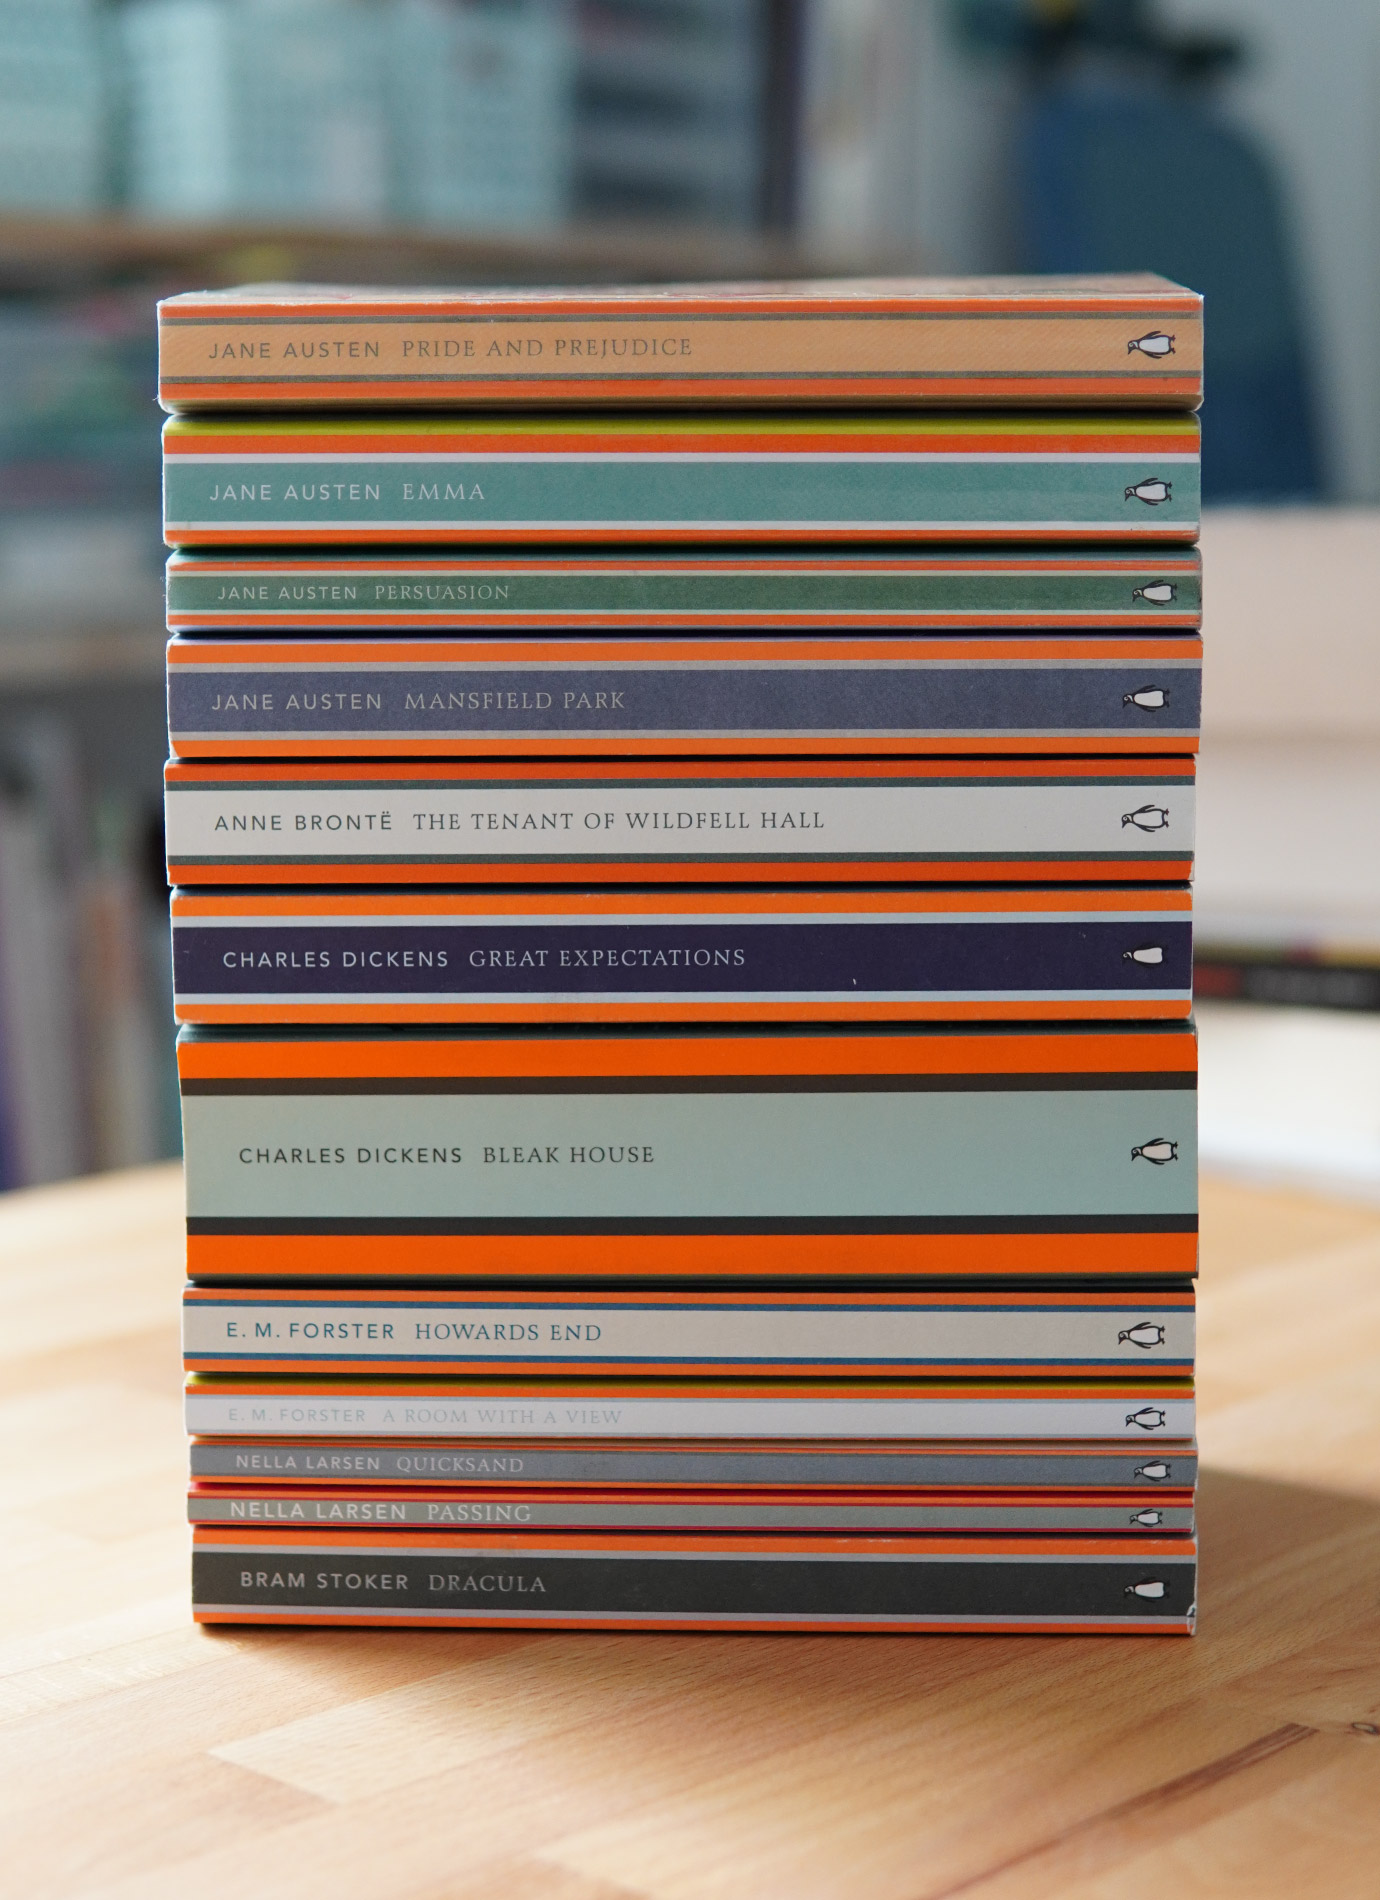
If you’ve read my previous blog post, you’d know that I’ve recently been consumed by an overwhelming desire to read interested in reading literary classics from the 18th and 19th century. Whether brand new or secondhand, when I haven’t been able to find, after some good searching, the books I want to read in my preferred edition of Penguin Classics, I have, at times, turned to the Penguin English Library (PEL) collection as an alternative choice.
Overall, I do love this series. The books are affordable and feel very approachable and friendly with their colourful and unique eye-catching cover designs—though the graphic designer in me is not a fan of the covers that have very dark backgrounds/spines on which the logo is hardly visible. They’re very comfortable to hold with their floppy pages (I hate breaking book spines), and have a good amount of margin for making notes and such.
However, they do have a couple of drawbacks. Firstly, their covers are just thin untreated card stock and can quickly show signs of wear even without much handling; and secondly, they contain no explanatory or reference notes, the inclusion of which, for classic works in particular, I find to be a major advantage. Thankfully, both of these issues are easily solvable, though not without some investment of time and effort, so I thought I’d share with you what I’ve been doing to overcome these limitations.
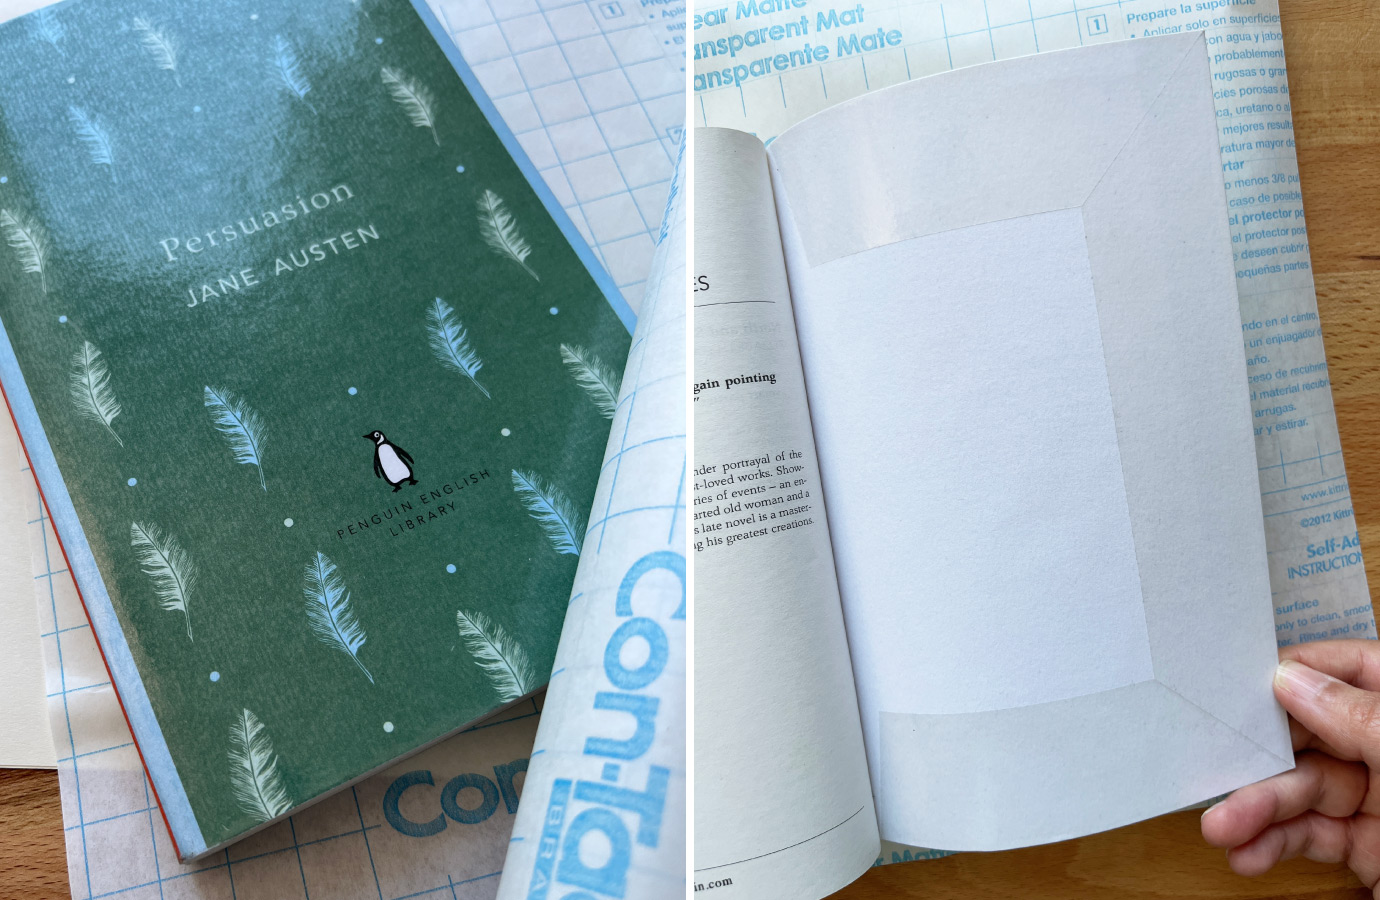
To address the flimsy covers and their susceptibility to tearing and staining, I thought of applying protective clear contact paper. I hesitated at first to do this…it felt somehow wrong to interfere with the books and do something to them that cannot be undone. Books are precious to me, and I worried that I might end up disfiguring them horribly…but I eventually gave myself permission to explore the option and do whatever seemed appropriate towards ensuring the books’ durability and longevity. The first book I applied contact paper to was a bit of a trial run, so it didn’t come out as good as I would have liked (no perfectly mitred corners for Pride and Prejudice), but the contact paper itself is quite forgiving and easy to peel back when necessary for taking out bubbles and such. I got better with the second book I attempted and now have a reliable process to follow for visually satisfying results.
Note: I’m only covering each book as I come to read it, for once it is read and has my underlines and little notations (always only in pencil), then it is truly mine. I won’t apply contact paper before reading a book just in case I find its equivalent, in the meantime, in a Penguin Classics edition and decide to buy it and sell or trade the PEL book in my possession, which I’ve done once or twice (though I’m actually happy with these books, so I don’t think it’ll happen again).
As for the lack of explanatory notes, it occurred to me that our public library system carries many, if not all of these books in the exact Penguin Classics edition that I prefer, and that I can check them out for their notes to copy and keep for my reference. This has worked perfectly!
I thought about how I might like to store each book’s notes with it, and decided the easiest option that would also require the least amount of work is to have the notes in loose sheets that I can tuck into each book and disperse throughout it. That way, thinking ahead, even for the thickest of books (looking at you, Bleak House), the notes wouldn’t add much bulk. The PEL books measure roughly 5″x7.75″, so I figured that sheets of 4.5″x7″ would be perfectly sized for tucking in neatly.
For the first book’s notes that I did, I typed in each note myself, which took forever and made me seriously question the whole operation. Then I realized what a fool I was when I remembered that live text capabilities now exist. For all the books that came after, I took photos on my phone of each page I thought I might like to either keep for reference, such as introductions or text emendations, or copy text from, such as the notes at the back of each book. Even better is when our library has a digital copy of a book through the Libby app and I could just take screenshots of those pages. I then airdrop the photos to my computer to copy from.
I don’t have the patience for elaborate design work these days, so I just opened a new horizontal document in Pages and created a table that has two larger columns for the notes, each at 3.75″x6.5″ (highlighted in orange below), and a smaller one between them to act as a spacer.
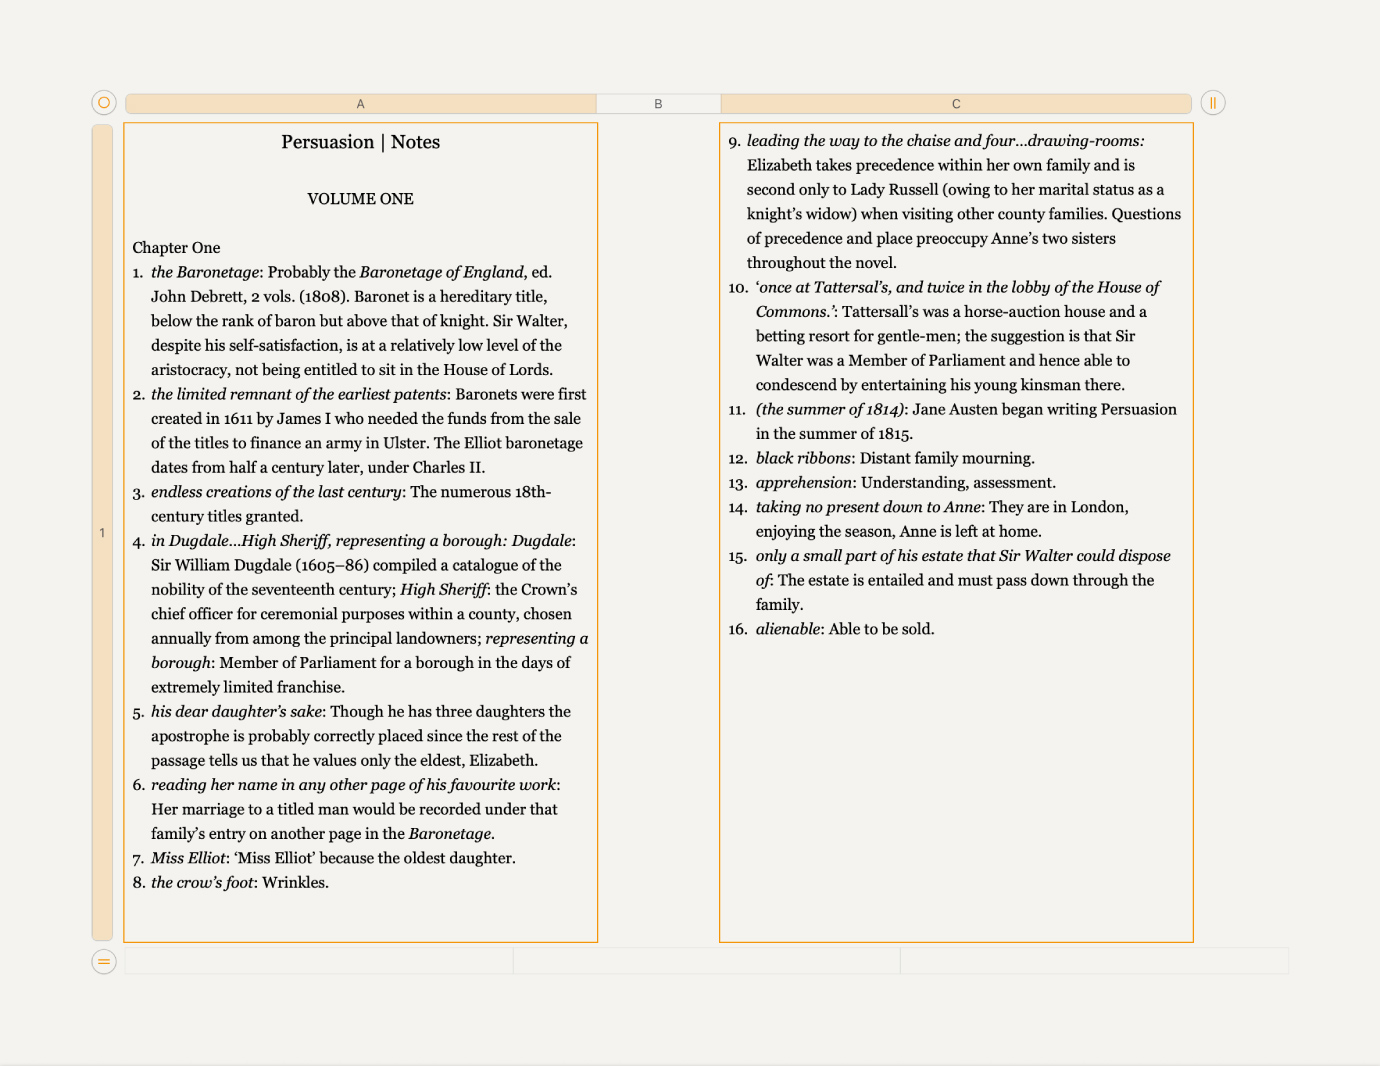
Opening up each photo on my computer, now readable via live text, I simply proceed to highlight/copy the notes of each page and paste them into my document. Then it’s a matter of formatting everything in a pleasing enough manner. I will say, however, that this whole process is still quite tedious, and it can take anywhere from a few hours to the better part of a day(s) to ensure the notes have been properly transferred and formatted.
When all is done, I then print the notes out on cream-coloured paper—much easier on the eyes than bright white—and proceed to trimming them down to size, with each letter-sized sheet of paper giving me two sheets of notes.
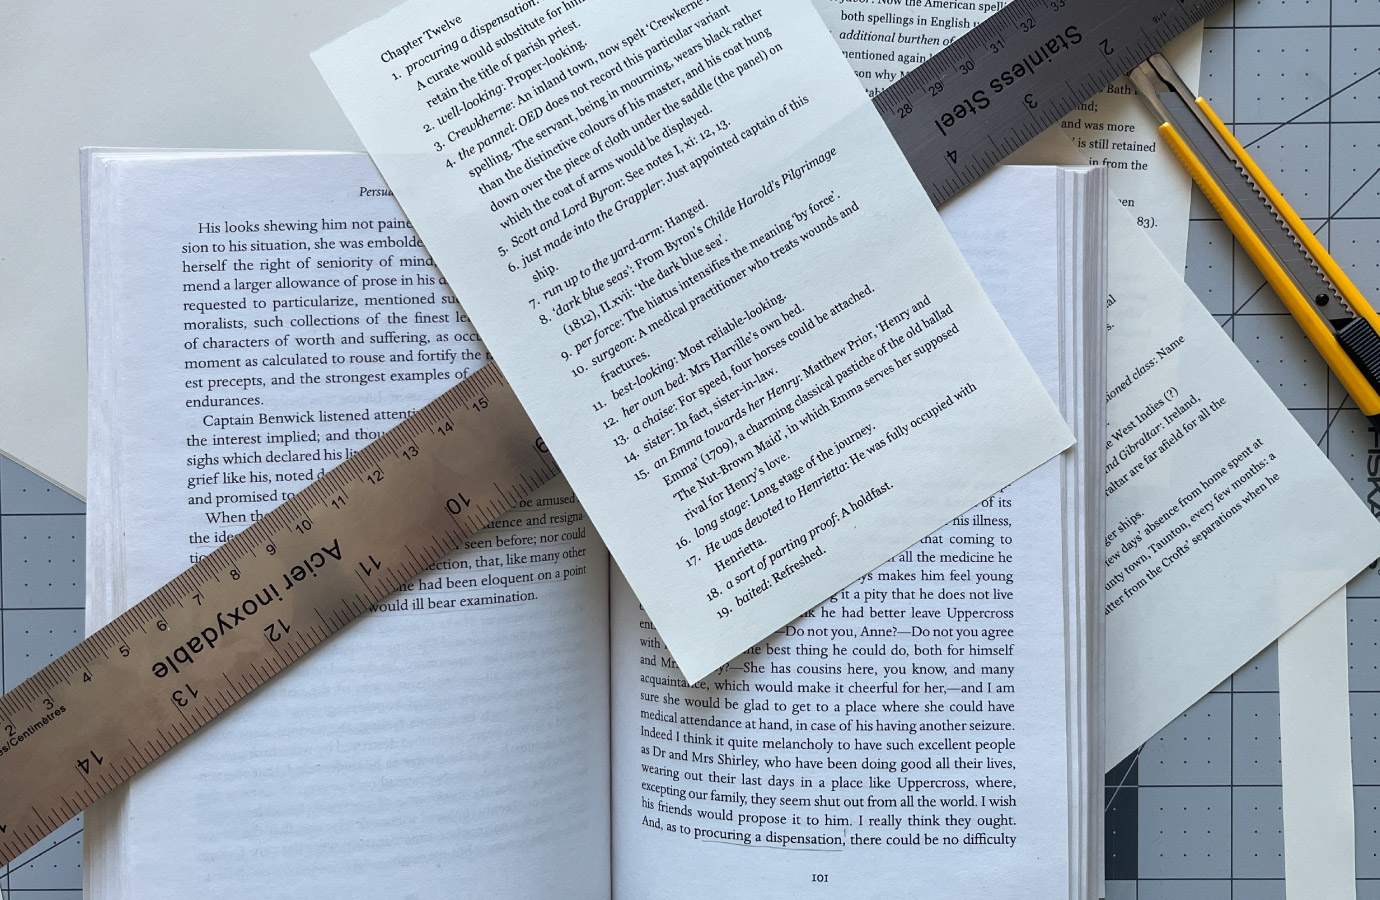
When I start reading the book for the first time, as this only needs to be done once, with my freshly printed chapter notes nearby, I will mark in pencil the number of each note next to its corresponding word or phrase as I come across it, which I will also underline. I usually then tuck the individual sheets into the book either before or after the chapter(s) they belong to.
I love how everything comes together in the end, and value having these notes for my reference and future re-reads, as they can add much needed context and richness to the reading experience. As time-consuming as it is, the process is well worth the effort, and I will continue to do this for every PEL book I have as I approach reading it…dreading working on Bleak House, though!